You got a minute? I just want to state the obvious.
If you read my recent post, Flat Out of Luck, you know I’m a reluctant changer-of-tire.
Oh, I can do it. I have done it.
But I don’t want to do it. Any more than absolutely, can’t possibly avoid it, necessary.
I’m not the only one right? Right? (You know, if you leave me stewing in this deafening silence, my self-image is going to take a hit.)
Anyway, back to stating the obvious.
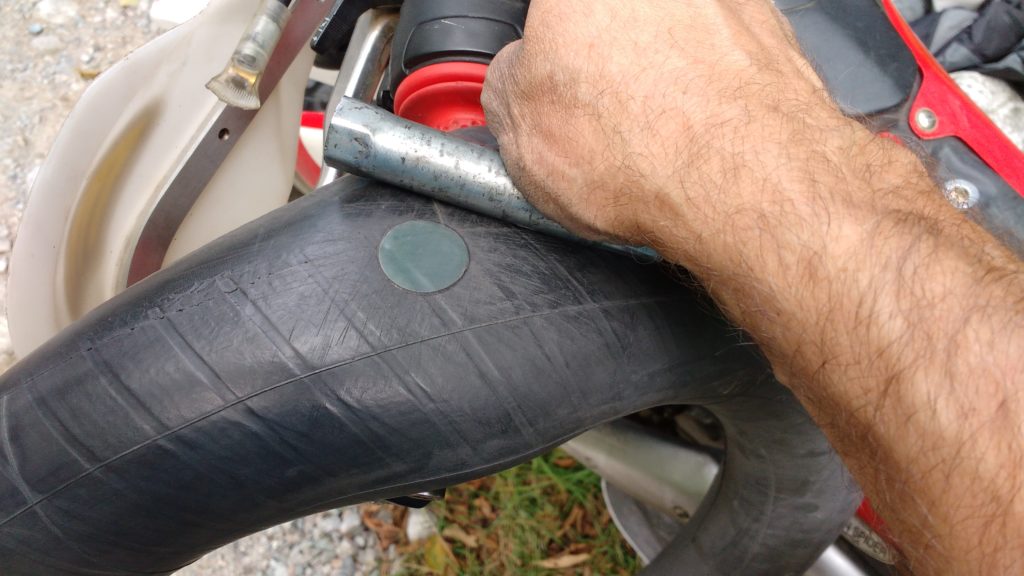
The debate I mentioned in Flat Out of Luck is whether rubber patches, either the vulcanizing or adhesive-backed kind, will stick to heavy-duty inner tubes. Some say no; some say yes. My experience, and my photos, sided with the “Yes” camp.
Debate resolved? Sure looks like it’s adhering to that heavy-duty tube.
But when he woke up the very next day…
That is, until the next day, when I attempted to roll the bike out of the stable. And the rear was flat like road kill. Again.
Hello, “No” camp.
So I repeated the re and re process (well, I did admit I need the practice so…) and discovered this:
Peeling patch
Seems the patch deformed and peeled off due to the heat and flexing of the 100 kilometres that took me out of the bush and back to the garage.
Debate resolved
Okay, now the debate is resolved: patches do adhere to heavy-duty tubes. And they do it as long as you don’t actually ride on them.
Everybody was right. Yeah, everybody!
Except for me. No “Yeah, Kevin!” for me. Instead there is just the stating the obvious part for which you have been so patiently waiting.
This whole dolorous tale of misery began with me hammering through sharp-edged rock as fast my mediocre skill allows a 150 kilogram bike to be piloted; and since my traction-loving self runs tires aired-down to a lovely squishiness, it was consequently obvious that I had flatted as a consequence of pinching the tube.
Consequently, I didn’t employ the old feel-around-inside-the-tire before-you-reinstall-a-punctured-tube maneuver.
Ready for the obvious yet?
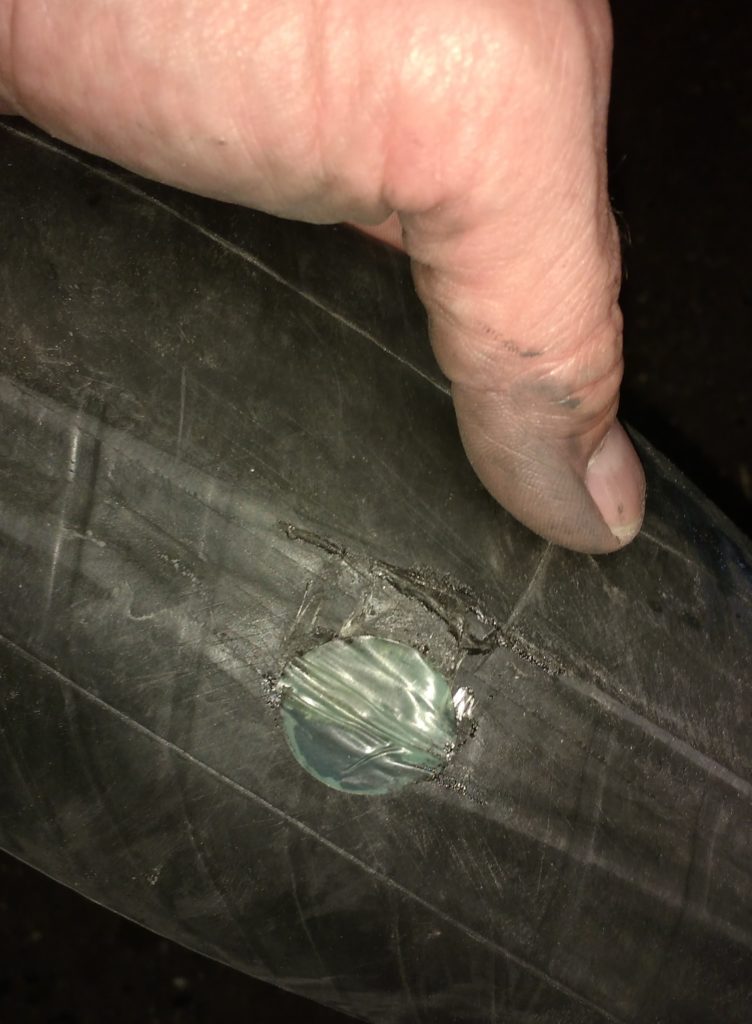
Big frickin’ brad nail.
I don’t remember inviting Brad to come along on my ride….
Still there, still in the same relative position to the inner tube it had punctured…still chewing away at the patch I had installed without checking for foreign bodies inside the tire. (I say “foreign bodies” because I’m otherwise likely to employ alternate words that begin with the letter “f”.)
The patch had, in fact, adhered quite nicely to the heavy-duty tube. The patch had, indeed, valiantly maintained a pressurized state in its new BFF (heavy-duty tube) as long as it could, while its new nemesis (bone-headed rider) overlooked the obvious.
This is the obvious, and I’m going to state it: always check inside the tire for foreign bodies when you repair a puncture!
But she did have a tall, sweeping sissy-bar. A banana seat. Swept back handlebars.
And those sweet, sweet coaster brakes you stomped on to skid the rear wheel, sliding around in a smooth arc to stop right in front of that pretty girl from Ms. Putnam’s Grade Five class.
Pavement, gravel, dirt – it didn’t matter where I was riding that bicycle: I was jamming on those pedals as hard as I could, going forward or sliding sideways in a tire-shredding skid.
All of which simply goes to say that I know just what a tire should sound like when I slide to a stop on an unpaved road…
And my tire didn’t sound like that right now.
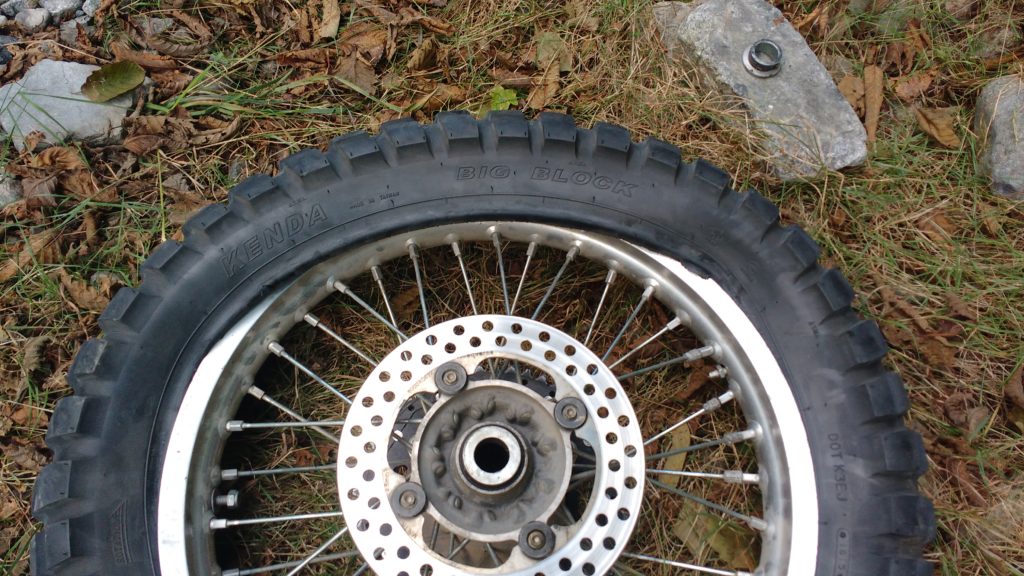
So I twisted around, leaned over, and peered at the meaty Kenda Big Block mounted on the rear of my motorcycle.
Flat as a world map in the Middle Ages.
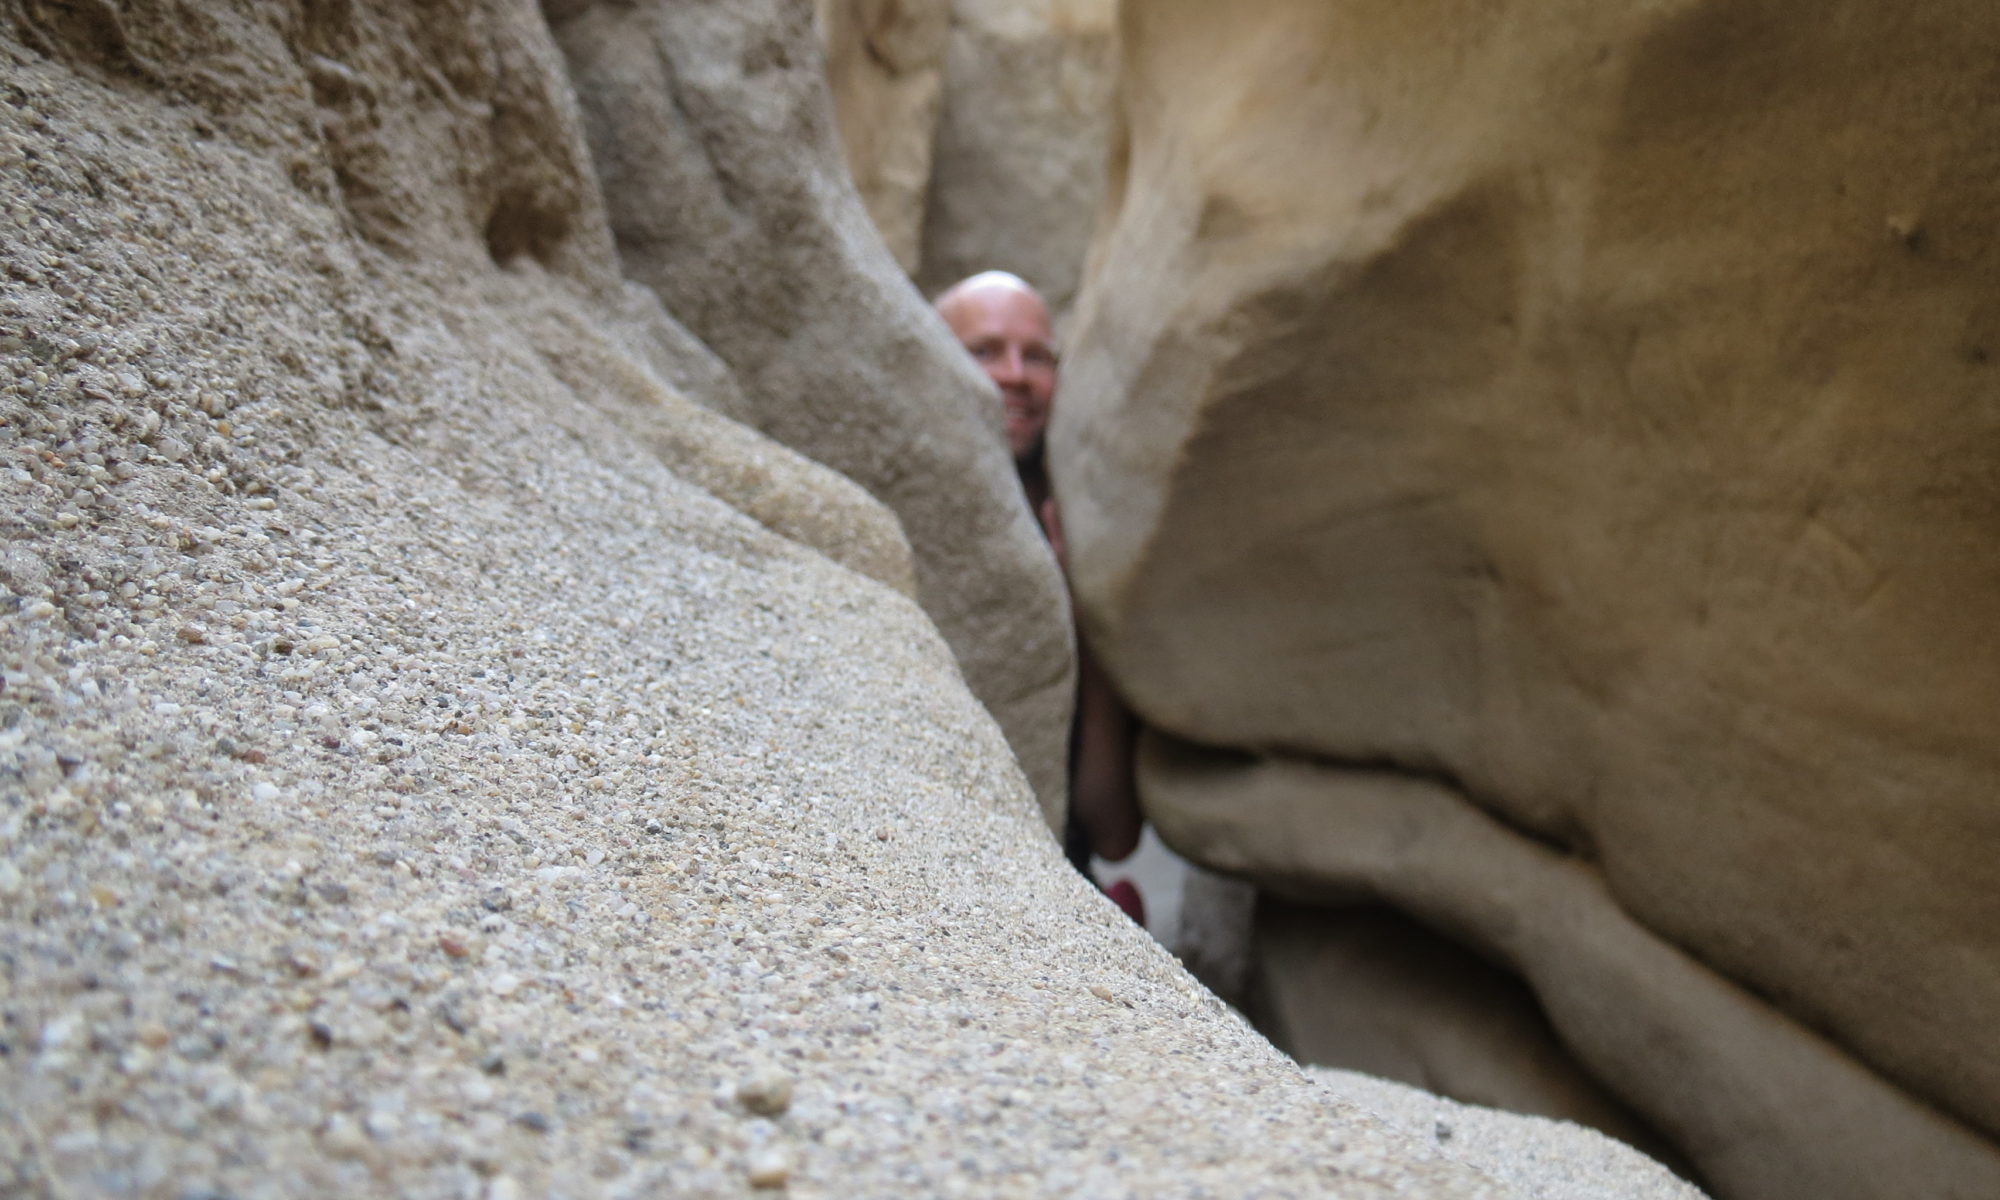
Alone in the wilds
Every time I have to fix a flat in the wilds (makes it sound more interesting, don’t you think?) I feel like a kid again. Not because of the bicycle thing, but because I’m convinced I won’t pass the test I didn’t study for.
Oh, I have all the tools, all the knowledge. I’m prepared. But I’m not out in the back yard changing tires and tubes just for the hell of it. I’ll do it when I need new rubber; but I’ll avoid it when I can.
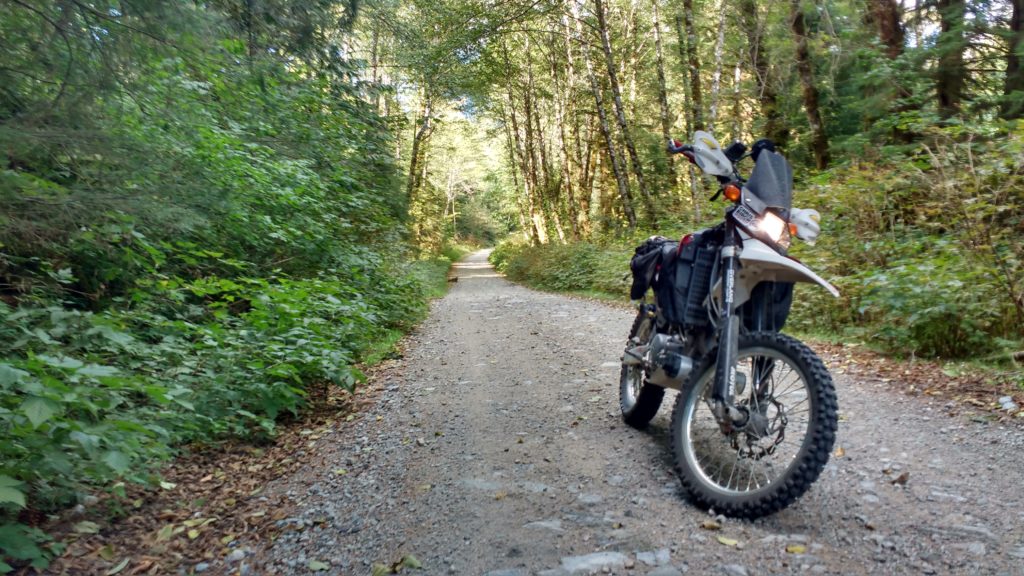
So, on this Saturday afternoon, 25 kilometres up the old logging road leading from Squamish, BC to the head of the ocean inlet called Indian Arm another 20 kilometres away, I feel a stirring of anxiety in my gut.
I can do this; I’ve done it before – numerous times – but I’m never quite sure I’m going to pass the test. And, as usual, I’m riding solo.
It’s not a unicycle
A dual-sport motorcycle tipping the scales at 150 kilograms makes for a pretty tippy unicycle.
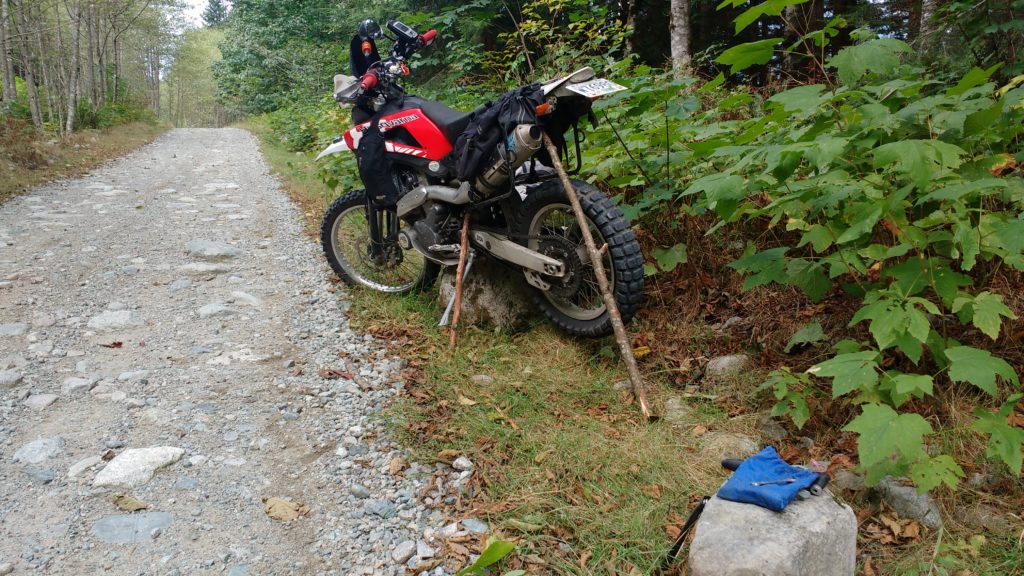
So the first thing I needed was a way to support the bike while I removed the rear wheel.
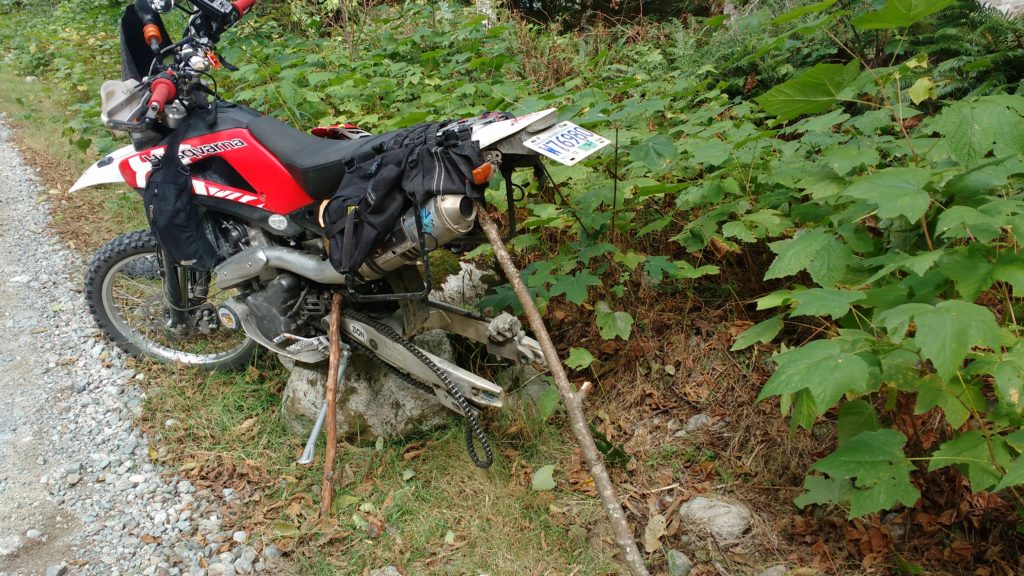
A bit of grunting levered Frank – my Husqvarna, unlike that old bicycle, does have a name – onto a rock at the trail side, balancing precariously on the skid-plate. A couple of branches, collected before the start of all the grunting and sweating, jammed into the ground and gave the bike a bit more stability.
Larger adventure bikes, of course, frequently have a centre stand. Riders of integrity, of course, remove these as quickly as possible, in order to truly test themselves at times like this.
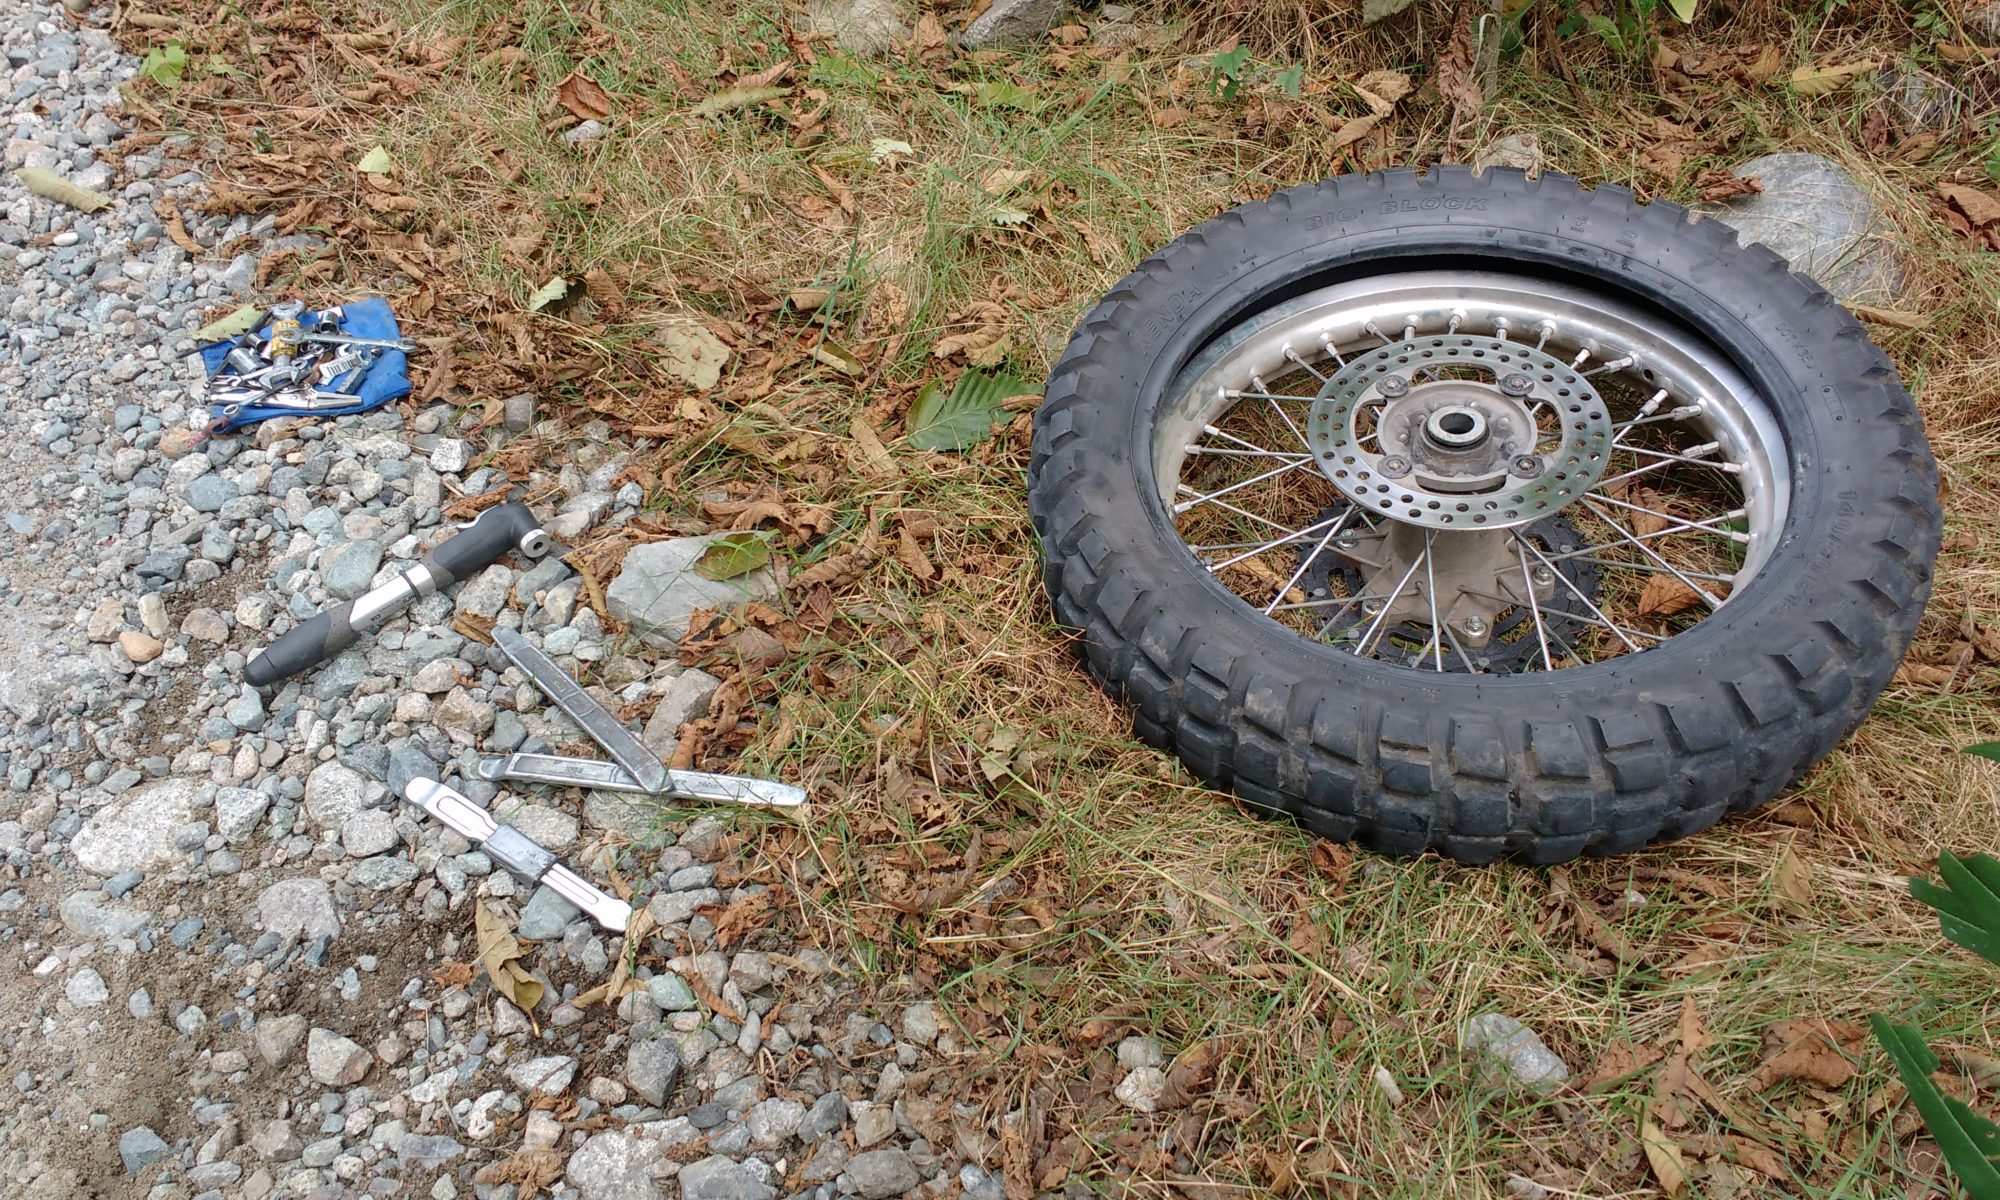
Before removing the wheel, I marked the location of the axle adjusting blocks so I could later reinstall the wheel without needing to gauge and adjust drive chain tension.
Wheel off, tools out, I loosened the blocks, pulled the axle and rolled the wheel out of the swing arm.
Are you ready for the pop quiz?
I don’t know if you’re more disciplined than me; maybe you’ve been studying for this test. But every situation is different – tire brand, temperature of the rubber, type of tire levers, alignment of the planets – so this test invariably has the feeling of a pop quiz.
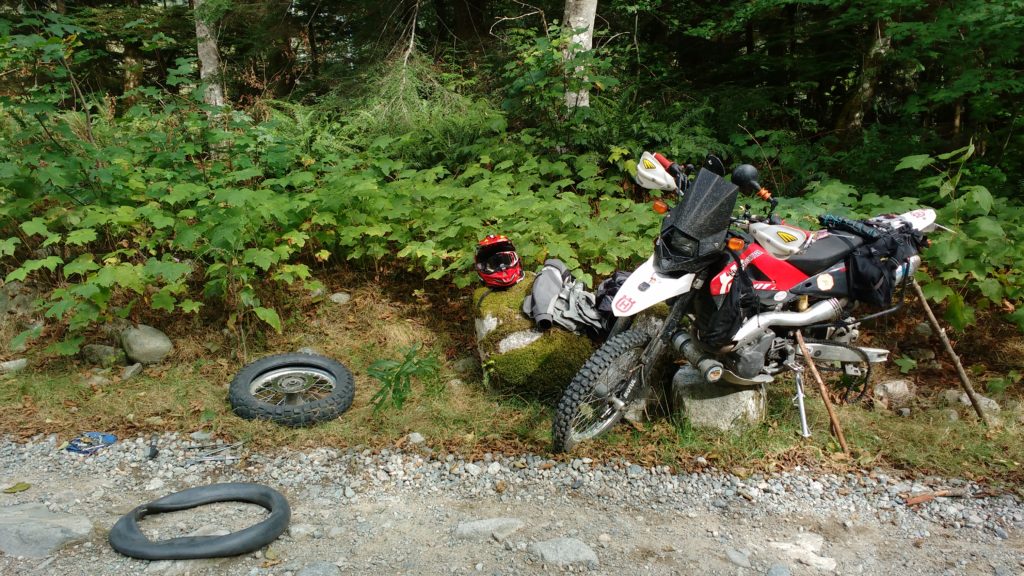
I laid the wheel sprocket-side down in a rock-free area of grass, keeping an eagle eye on wheel spacers that always seem to make a break for freedom, and keeping the brake disc side out of the rough stuff.
The bead was already broken, so I removed the valve core and dug in with my levers, prying one side of the heavy 140/80 tire free from the 18 inch rim. I had no water or soap available for lubricant, so instead I used a few drops of chain lube from the bottle I carry with me.
Big pain in the ass
I’ve found the Kenda Big Block tire to be a big pain in the ass, frankly; it has the stiffest, most stubborn sidewall of any rear tire I’ve used (Dunlop D606, Continental TKC 80, Pirelli MT21, Metzler Karoo T, Michelin T63, Motoz something-or-other, one of the innumerable iterations of the Bridgestone Trail Wings…I’m forgetting some…).
Finally, when the echoes of my colourful language faded, and the forest returned to peaceful serenity, the tire was off and I was ready to extract the tube.
My choice at this point was either to patch or replace. I carry a single 21 inch front tube, ascribing to the theory that in a pinch (yes, pun intended – and quite proud of that one, too), a 21” tube in an 18” tire gets you back home.
I’ve still never tested that theory: most of my punctures are front tires, which the 21 was designed for; most of my rear punctures have been fixed with a patch. Since I was quickly able to find the puncture this time, I decided to again try patching first.
Sticky situation
Now, being of a theoretical and experimental bent developed, I’m sure, in the era of my early tire-destroying research, I tested another theory.
Word is, patches don’t work on heavy-duty tubes, and the doughnut I pulled out of my tire was an extra-heavy tube installed for my frequent rides in areas of sharp-edged desert rock.
I had both traditional patches and glue, and the self-adhering type – in this case, Slime Skabs. Obviously, I tried the simplest solution first.
And let me tell you: they worked a charm. Worked the charm? What the hell is that idiom, anyways?
Okay: they worked great. After using the abrasive disc, I peeled and stuck, then applied pressure by rolling over the area with the spark plug socket from my tool kit.
It was apparent that the patch was adhering well, since it assumed the contours of molding lines in the tube.
Pumped it up and I’m a happy camper.
Reinstallation, as they say in those handy repair manuals, is simply the reverse of removal.
Yeah, right.
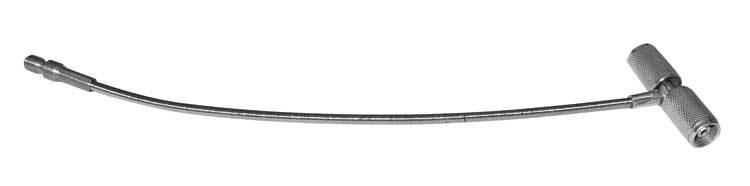
You need one of these
If you don’t have one of these, run, don’t walk to your…computer, I guess, and order one.
I don’t know what it’s called, although I’ve seen the euphonious appellation, “Cable tire inner tube valve stem fishing tool.”
Don’t worry about the name; just get one.
Because unless you’ve got the perfumed hands of a Donald Trump, you’re not fitting a motorcycle rim, an inner tube, and your clumsy fingers inside that tire – not at the same time, anyways.
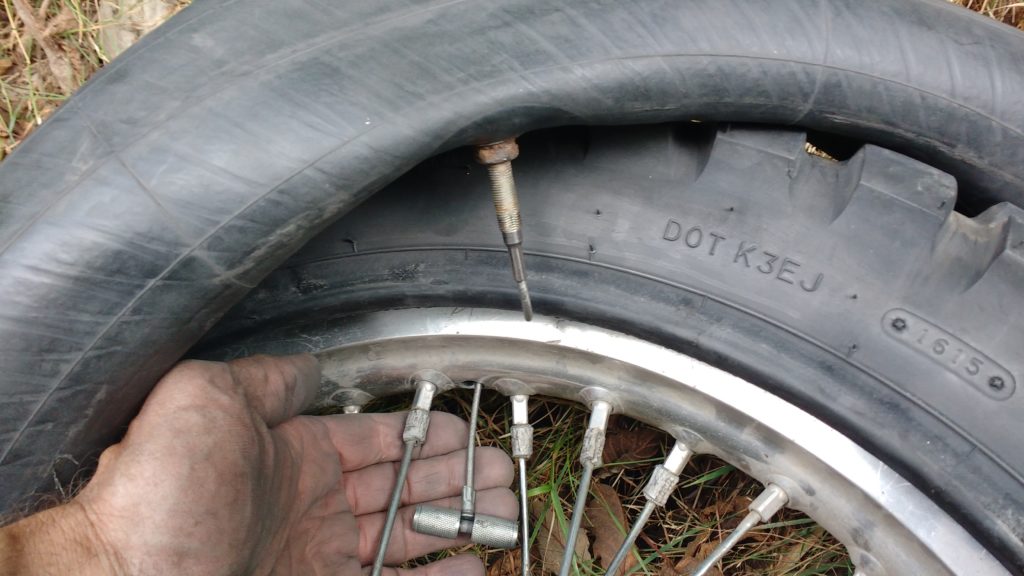
After threading the tool through the rim and into the valve stem, I stuffed the deflated tube into the tire and pulled the stem through the hole in the rim.
Remove the tool, install the valve core, inflate to a few PSI, and now…
Bigger pain in the ass
Like I say, I’ve passed this test before: I’ve spooned many a tire back onto a rim.
You know, like I know, that the secret to getting those last 10 centimetres of tire bead slipped over the rim and into place is ensuring that the bead on the opposite side of the rim is pressed down and into the deep channel running around the centre of the rim. This orientation gives you just enough clearance to pry the final bit of tire onto the rim.
So, would you please tell that to the Kenda Big Block?
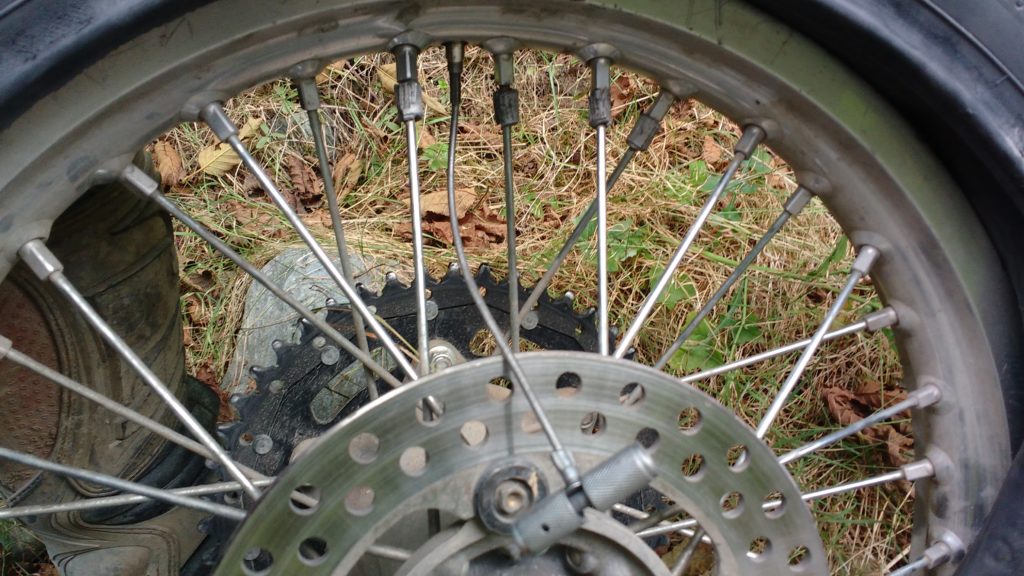
See that wheel spacer trying to sneak away?
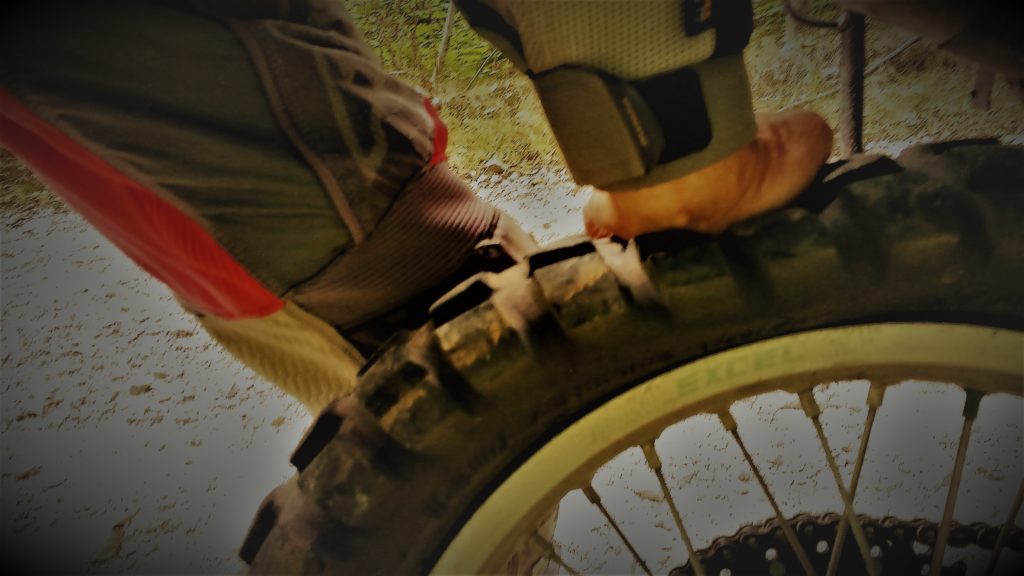
I had real trouble getting this tire installed in the first place, and I reprised that graceless and inelegant wrestling match on the dirt road to Indian Arm.
Eventually, with the help of some more chain lube and my size 11 boots, I beat the Big Block into submission and heard that gratifying “Pop!” as the bead seated.
Now to tighten up the rim lock and get some air in that tube.
I always carry both a mini bicycle pump and a CO2 inflator with a couple 25 gram cartridges. I keep the latter for “plan B” situations, and the former worked just fine today.
Seems like I passed the test.
The point is…
So the point of this story is simple: don’t let anybody convince you that you need to practice to pass a test.
Oh, wait – that’s not the point.
The point is this: make sure you’re prepared for the inevitable flat tire out on the trail. Get the tools and supplies, take them along on every ride, and know how to use them. Practicing is optional – if you’re a risk taker.
My tire repair kit
Tire levers, 8 inch (3)
21 inch inner tube
Fishing rod valve puller valve core remover thingy (The cheapest one Google found for me was here. Make sure you don’t get the type that threads over the outside of the valve stem; this one screws inside the stem, into the threads where the valve core normally seats.)
Patches: self-adhering and vulcanizing rubber, various sizes
Glue (which evaporates as soon as you put it in your tool kit – no, actually, it evaporates before you get it home from the store. I think.)
Air pump (if you use a bicycle pump, ensure it works with Schrader valves, not just Presta; look it up)
CO2 inflator head
25 gram CO2 cartridges (2)
Water, soap or other lubricant
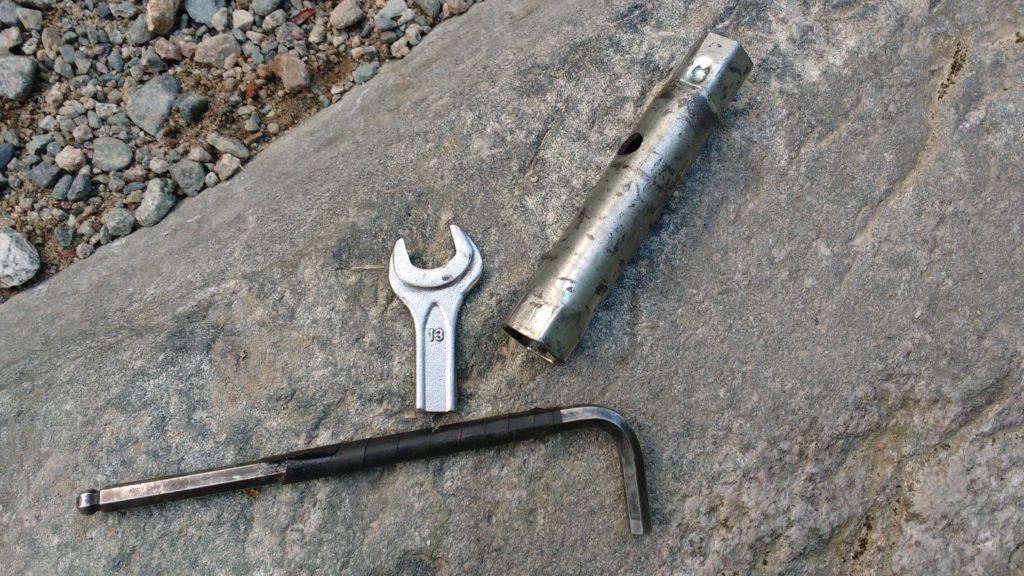
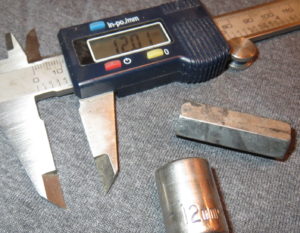
Tool kit with the correct sizes to remove your wheels and loosen rim locks. *Remember to check the size of the nuts on your rim locks. Mine are 13 mm, a size used nowhere else on my bike. Since I don’t want to carry a full-sized wrench for a single application, my solution is a cut-off open end wrench and, once again, that handy spark plug socket: it slips over the short wrench and replaces the leverage I just sawed off. I also drill a hole in my spark plug sockets so that I can turn them with a 6 mm Allen key, doubling the uses of that tool as well. It is called “dual” sport, after all.
Professionally lightened 13 mm open end wrench; artisanal drilled spark plug socket; 6 mm Allen key.
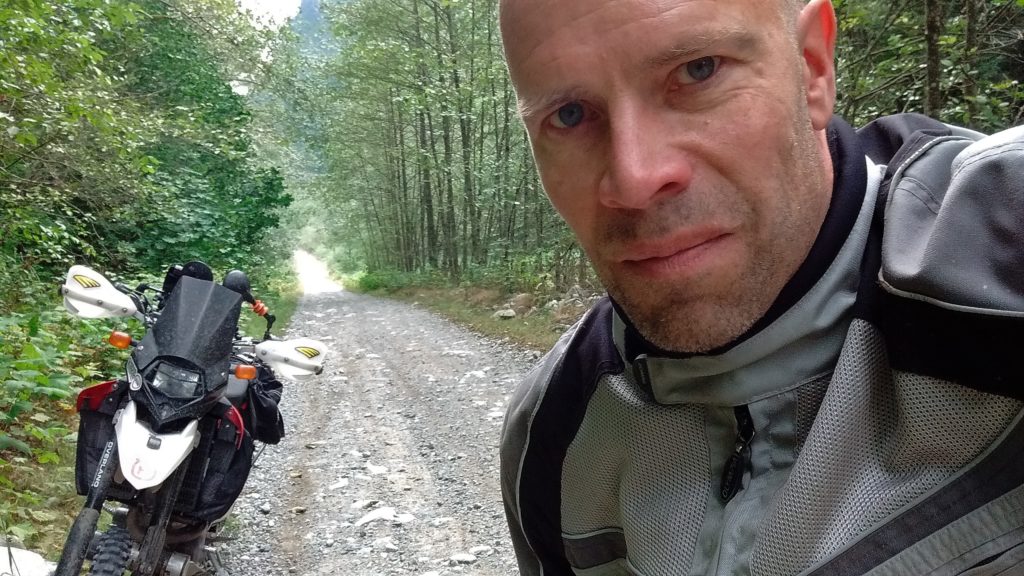
Now, get back on the trail! No, wait — take a selfie. Then get back on the trail!
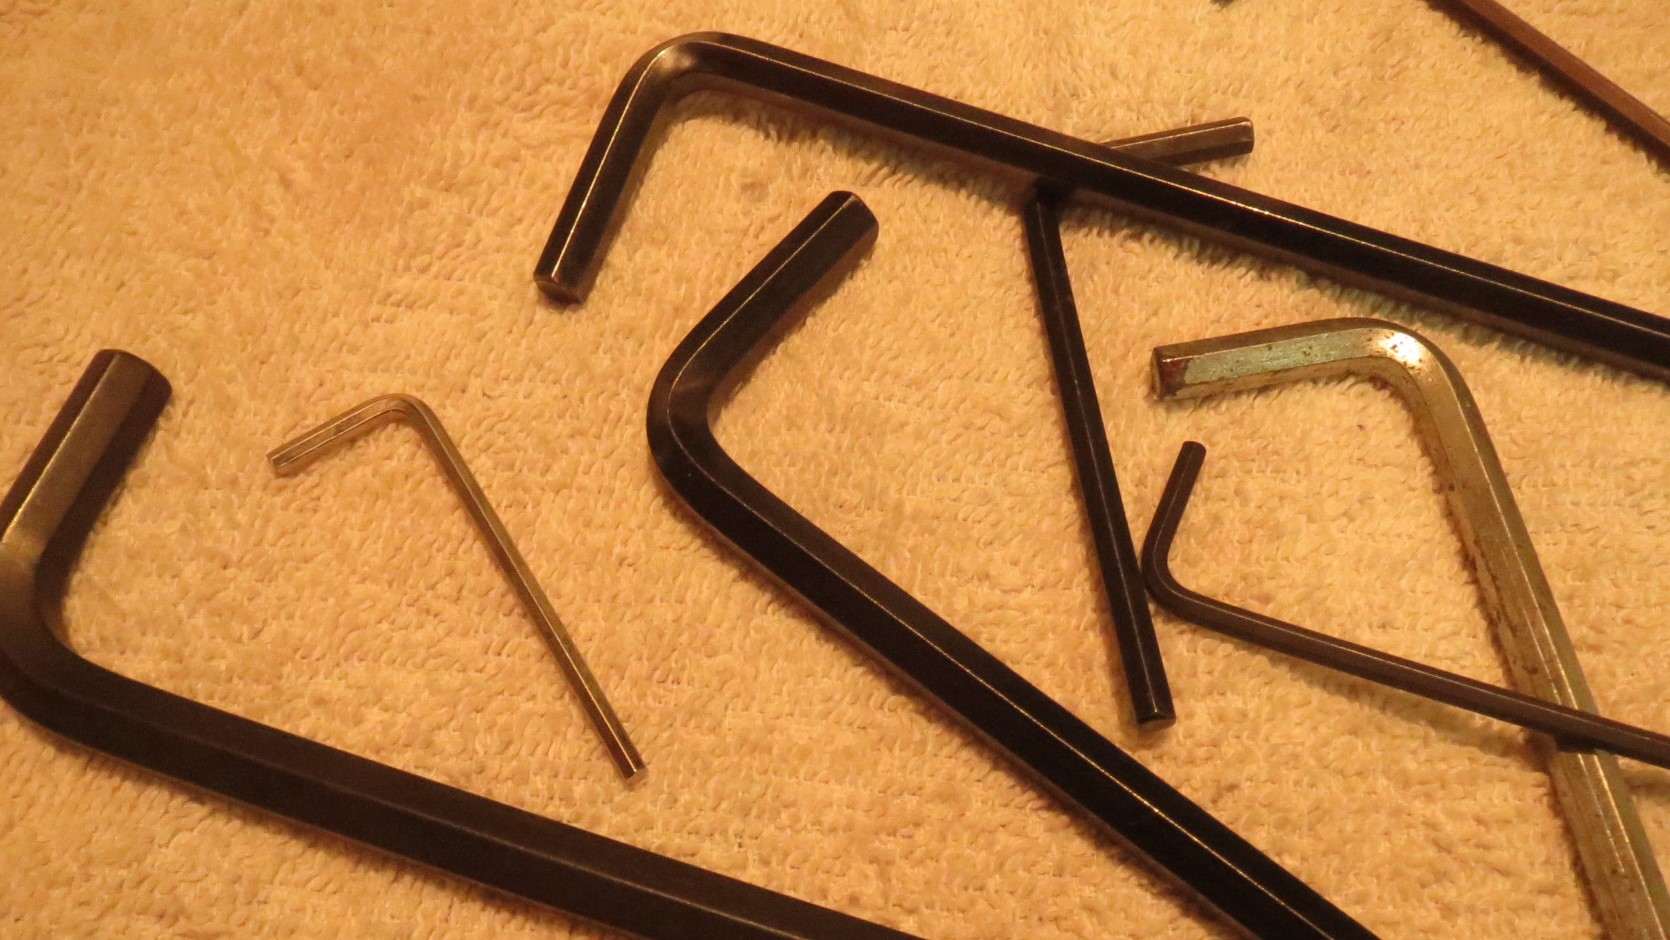
You might know these as Allen wrenches, hex keys, hexagon wrenches or Zeta keys. You might even call them Unbrako — but probably not coconut-driven radios. They’re those six-sided metal rods that fit into a matching hole or socket on the end of a bolt.
You already knew that.
Even if you’re throwing a leg over some exotic foreigner — I mean like a Ural; keep your head in the game here: we’re talking about motorcycles — you need Allen keys. If you’re riding orange or Husqvarna, like me, you need some extra-large Allen keys: 8, 10 and even 12 mm.
But I’ll tell you, put those in your kit and you can confidently respond when your captain hollers for the boat anchor. The 12 mm I needed to remove the front wheel of my Husqvarna TE510 was huge! I’m telling you, it was uuuge! Ahem. Sorry…
Allen Key? Anchor? Even the Professor doesn’t really know….
And then you still need to take the rest of your Allen key set, usually 2.5, 4, 5, 6 and 8 mm (depending on your bike; you’re going to figure that out by working on it at home, before you tackle the TAT).
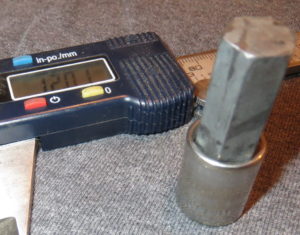
Or you can use your sockets as Allen key adapters
You’ve seen these, right?
It seems obvious once you think about it (which you are about to do), that these contraptions are just an Allen key pressed permanently into a socket. But did you know it’s easy to make your own? And use both the socket and the Allen key? Two in one. Fun.
Plus, your home-made keys are much shorter and lighter than the originals, reducing weight and bulk without sacrificing leverage. Three in one. Triple fun. Menage a key.
Ginger, Mary Ann? Someone hand me a scalpel!
That 12 mm boat anchor weighed 139 grams; after surgery, it was 21 g. I just reduced the weight of my tool kit 118 grams — more than a quarter of a pound!
Allen in the recovery room.Post-op.
It’s not rocket science: it’s brain surgery — if, you know, the patient was named Allen. The procedure goes like this:
Cut off a straight section of your Allen key, using an angle grinder or other metal cut-off wheel. Allen keys are hardened steel, so you won’t want to try this with a hack saw.
Your cut-off sections should be about 2 centimetres (one inch, plus) longer than your equivalent-sized socket.
To use your new, lighter Allen keys, just insert the hex section into a socket. For example, slip your 10 mm key into your 10 mm socket.Your drive ratchet now works for fastening your Allen bolts, and you can also use your 1/4″ drive extensions to create Allen keys with a longer reach. Bonus: your stubby little Allen keys can be used with wrenches as well, either open or closed-end. This option expands your ability to work in difficult-to-reach areas.
If the Allen key wants to slip out of your socket or wrench, wrap it with a bit of the duct tape you have in your tool kit.
For the truly obsessive, you can find adapters that slip over a smaller hex key to step up to the next size — skip the weight of a solid key, plus you benefit from a smaller stored size. I use one of these to adapt my 6 mm to 8 mm. Check bicycle tool suppliers for these doodads.
If you have tiny hands…
For your smallest Allen keys — 2.5, 4, maybe 5 and even 6 — you need a different strategy, since there’s not likely any reason to carry sockets in those sizes. I’ve only needed 5, 6 or 7 mm for some hose clamps, and you can use a screwdriver for those. Don’t take a socket if you already have a way to manipulate your hose. Clamps.
I have used 6 and 7 mm open-end wrenches for the spoke nipples on my wheels — but there again, a socket won’t help.
Instead, get a set of Allen bits and a matching adapter that fits the hex-shaped bits and slips onto your 1/4″ ratchet. Most tool stores should be able to set you up.
Careful there, Gilligan!
Use only 6-point sockets, not those nut-rounding 12-points.
This adapted tool allows you to generate greater torque when securing fasteners, so tighten slowly, being careful not to over-tighten and deform the socket in the head of the bolt.
Ball-end Allen keys help you remove or fasten bolts in awkward locations, by allowing an angled line of approach to the bolt. However, they don’t provide the straight-line contact of a regular Allen key. As a result, deforming the socket in the bolt heads is surprisingly easy. I don’t use ball-ends for any high-torque bolts – either to fasten or remove.
Now you’ve got efficient Allen keys: no more anchors in sight. So feel free to get going on that three-hour cruise, Captain. Does anybody even recognize these references anymore?
I just watched a YouTube video. That’s me: always right there at the bleeding edge….
This video was pretty slick. It was produced by an American motorcycle accessory retailer, a respected company that focuses on the off-road segment. They sell some good gear.
So. They were detailing what you should pack in your tool kit for adventure motorcycling.
A lithium-iron battery booster pack. Pliers. Needle nose pliers. Needle nose Vice Grips. Etc. Plus etc. And then, with all that extra space you have in your luggage, add some etc., would you?
Seriously.
Yes, their tool kit recommendations were comprehensive…and about four times the size you really need.
No wonder riders are uncertain what to take!
The runt of the litter
With my runt-of-the-litter tool kit, I’ve done field repairs on…
Damaged valve-train components
Faulty electrics
Bent handle bars
Cracked gas tanks
Flat tires
Broken luggage racks
Suspension adjustments
Snapped clutch and brake levers
Broken shifter and brake pedals
Mangled oil coolers
But, before you pack your runt…
First off, whatever tool kit you assemble, you need to use it in your garage before any trip.
Figure out what sizes of wrenches, sockets, screwdrivers, extensions and Allen keys you need for your specific bike. Assemble the other stuff you think you’ll require, like spare fasteners, inner-tube patch kit, etc.
Then work on your bike.
Changing your oil? Use only the tools in your developing kit. Spooning on fresh rubber? Same. Checking fasteners are tightened snugly in preparation for dirty-road vibrations? Yep: only use the tools in your kit.
Test it out; determine what type and size of tools you need, and which ones can stay on the bench when you leave for your trip. This should be an ongoing process, one you revisit after every trip.
Okay, you’ve done that – probably did it long ago, in fact.
Now you reduce the number of tools, and make them smaller and lighter.
You can’t take it with you – and you don’t need to
The lithium-iron battery booster pack isn’t necessary. I’ve had no problem push-starting fuel-injected bikes. And some bikes still start with a strong right leg. Besides, you’ll likely be riding with a friend, and she’s got a built-in booster on her bike: it’s called a battery.
Ok, I’m being snide. Bad habit.
But the thing is, I’ve researched tool kits more than any well-adjusted man should do. And I’ve concluded that many (many) of the items I see in those kits are not necessary. Alternative conclusion: I’m not a well-adjusted man. Umm…I guess we shouldn’t take that one off the table just yet….
Sure, lots of the items I see recommended for your tool kit might be nice to have — but they actually contribute to a problem, instead of solving it. Look at it this way: adventure riders cite weight and maneuverability as significant challenges when riding off-road. Obvious, right?
So if you have a kitchen-sink tool kit, and it’s adding unnecessary weight and bulk, it’s more likely you won’t leave the pavement in the first place. Problem. Or that you will leave the pavement and have a discouraging experience of piloting a once-svelte bike that now feels like a warthog or a certain Monty Python sketch character…. And then you stay on the pavement after that. Problem, squared.
“But, sir, it’s only a tiny, little thin one: a wafer thin mint!”
Yeah, I know: one extra pair of needle-nose pliers won’t leave legions of would-be adventure riders riding the couch instead.
But what if those pliers are packed alongside the electric air compressor you’ve never actually used on a trip? And an inefficient cooking system, that second pair of jeans, and…?
Pounds are made of ounces, my friend. And kilograms of grams.
So you’re going to take only what you need; I’ve got more posts coming to give you specific details. Once you’ve got that sorted, you’re going to search the YouTube for Monty Python wafer thin mint to see what happens when you pack in too much stuff. I apologize in advance.
And then we’re gonna tap into another strategy: the dual-purpose mindset. It’s kind of like reincarnation, only with two lives happening at the same time, instead of consecutively.
I have just invented concurrent reincarnation. Another Monday well spent.
Dual-purpose isn’t just a DR650
The central idea to a tool kit – and, in fact, to most adventure motorcycling preparation – is to design your systems for multiple uses.
Your tools should be as dual-purpose as your bike. I think I’ve figured out some good stuff I want to show you:
Use a ratchet extension to make screwdrivers
Remember combination-size open end wrenches?
Get a wrench / ratchet gizmo with a hex adapter
Install a new inner tube and cure Monkey Butt (yes, it’s a thing, skeptics)
Use your spark plug socket to increase the leverage of your efficient little ¼” ratchet
But wait: there’s more! (channeling my inner Vince Offer)
Details to follow. I’m trying to keep this bite-sized here, after all. Nobody needs that wafer aftermath….